I'll do my best to explain each picture.
Before you can make elaborate bracelets, you need to just know how to make each knot properly. How you tie the knot determines how it looks, and you can't just knot it any way you want. If you don't get the simple knots down, the bracelet ends up looking off because of backwards knots, too much tension or too little tension, etc.
So here are the very first steps!
Step 1: Pick out your colors (and when you know more styles, pick out which design you want to do).
Step 2: Cut your threads. For this, just cut 18 inches or so worth. You're just learning the knots right now so you don't need a lot.
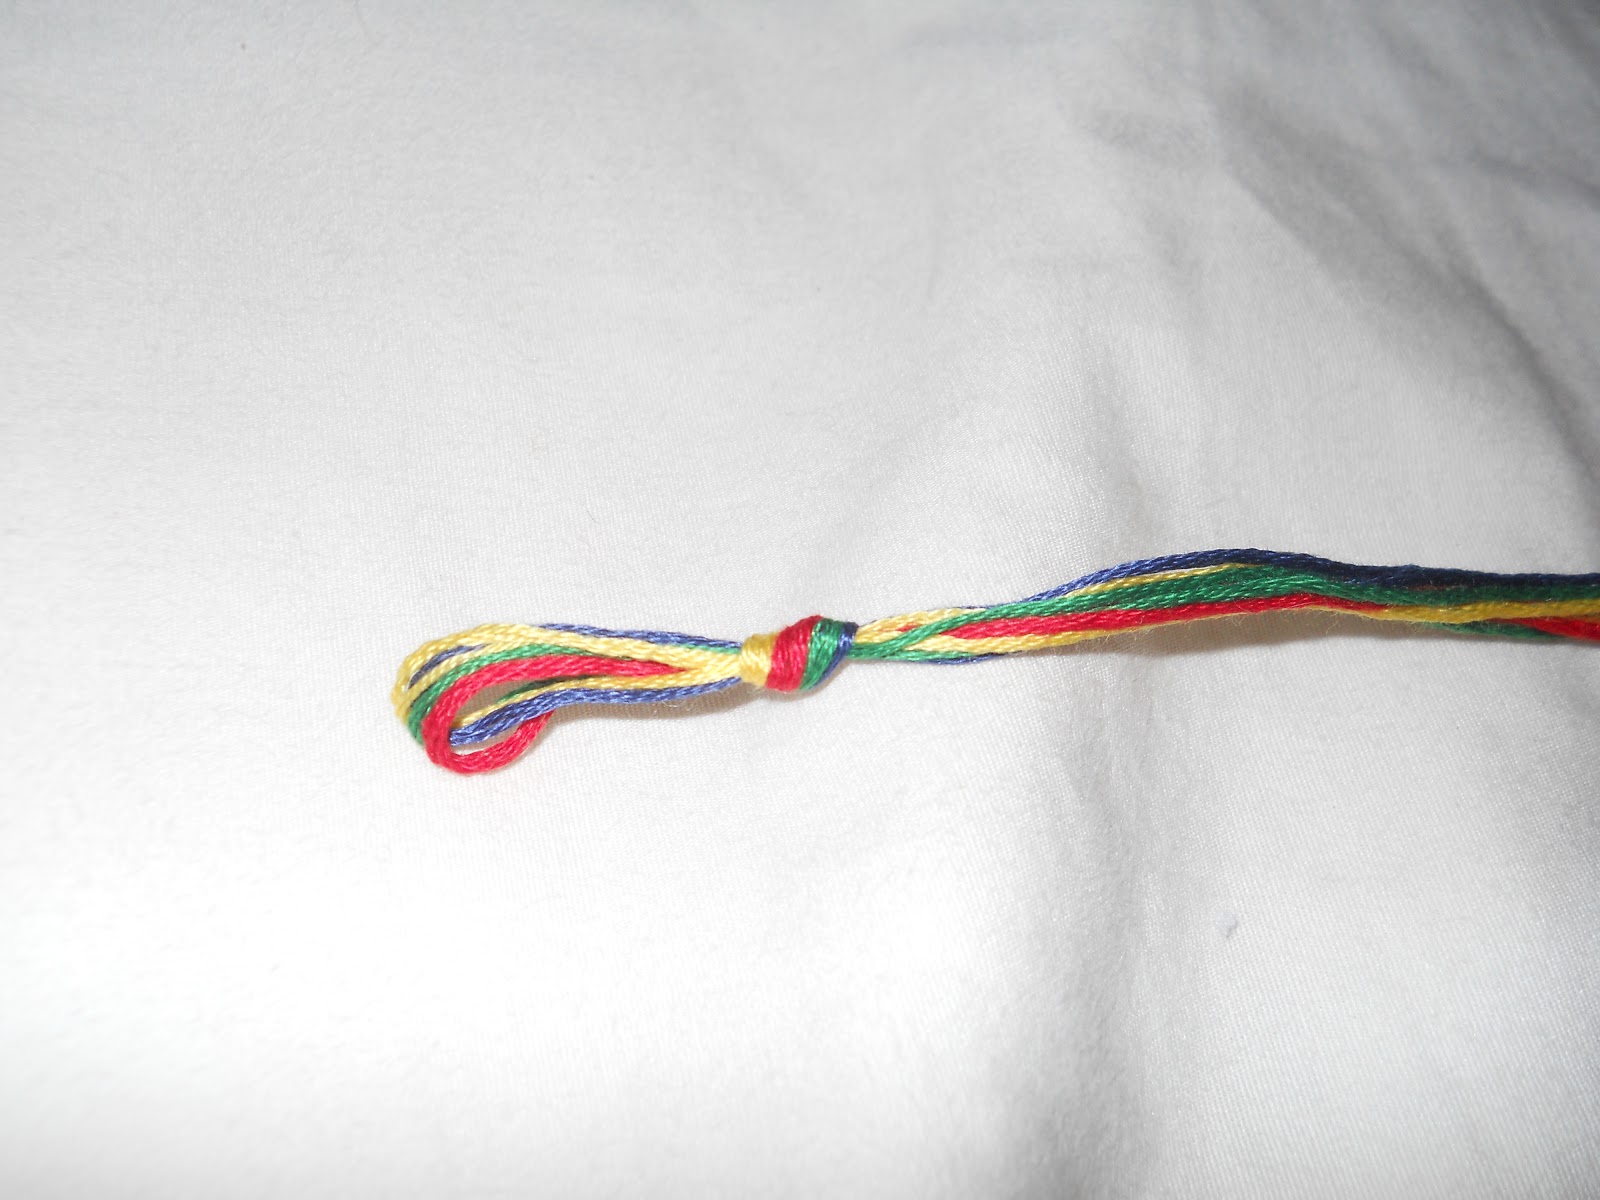
Step 3: Fold it in half.
Step 4- Make knot at the top
Step 5: Secure it. I like to safety pin mine to my pants. =)
Step 6: Arrange your colors so they're symmetrical or mirrored.
(Blue, Yellow, Green, Red, Red, Green, Yellow, Blue)
GETTING STARTED!
Depending on the style of bracelet, you'll either start in the center, or on the left.
For this, just start on the left. I'm making a Chevron bracelet here, which is basically looks like this:

So you start with BLUE, going towards the center.
Cross the Blue OVER the yellow like this:
Pull it under and through to knot it like you would make any knot. *The important thing to remember is to keep the YELLOW taut, and to pull the blue towards the RIGHT.*
Another shot of this step, yellow taut, blue towards the center.
Keep pulling it tighter.
Do this TWICE! Two knots on the same string. It will look like this:
Move on the the green string. Remember to knot it twice.
And do the red. You should have three blue knots now, and the blue string will be the new middle.
Go to the RIGHT side of the bracelet.
Since we are now going towards the LEFT, the Blue string needs to still be knotted OVER the yellow, but this time you have to make sure you are pulling the blue towards the left.
Up and under, like with any knot, remember to do each one twice:
Close up :
The picture below is what it will look like when you complete the first row, up until the middle knot. You have three completed knots on each side.
To make the center knot, take the LEFT blue string, and knot it moving towards the RIGHT. Just like you did with the first three stitches on the left side earlier.
You should make a V with your first color.
Repeat those steps with Yellow, then green, then red, repeat repeat repeat.
You can make one big knot at the bottom if you want when you are done, braid it, make two separate braids, pretty much do anything you feel like doing when you are done. You could also just tie it directly onto your wrist if you want.
If you get the basics down, you can do so many other patterns! Once you get the hang of this I can post a more detailed tutorial of more difficult patterns!