We just keep swimming!
Showing posts with label preschool activities. Show all posts

Wednesday, February 1, 2012

Coloring Rice

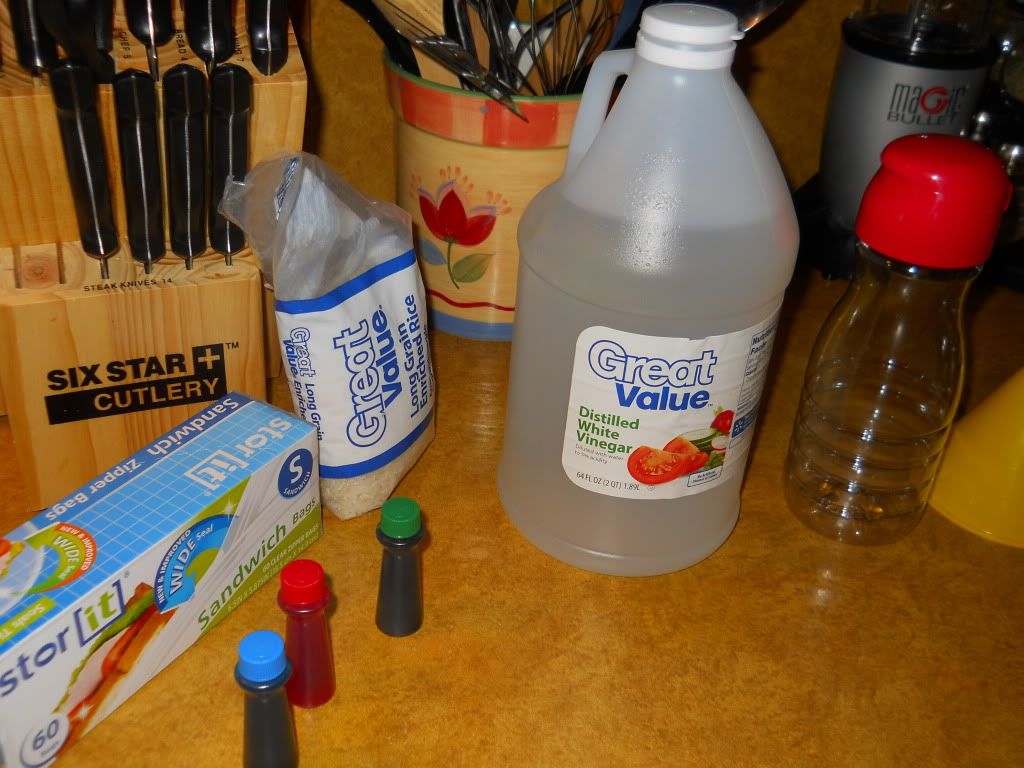
So I thought I'd share my first experience trying out this whole colored rice thing. I was planning on using rubbing alcohol since most of the recipes call for that, but I wound up having none even though I could have sworn we did. So I decided to try it with vinegar. I read on one site that vinegar marks for lumpy rice, but I figured I'd give it a shot with a small batch and see what happened.


I used vinegar, white rice, food coloring. 

Preheat the oven to 175. 
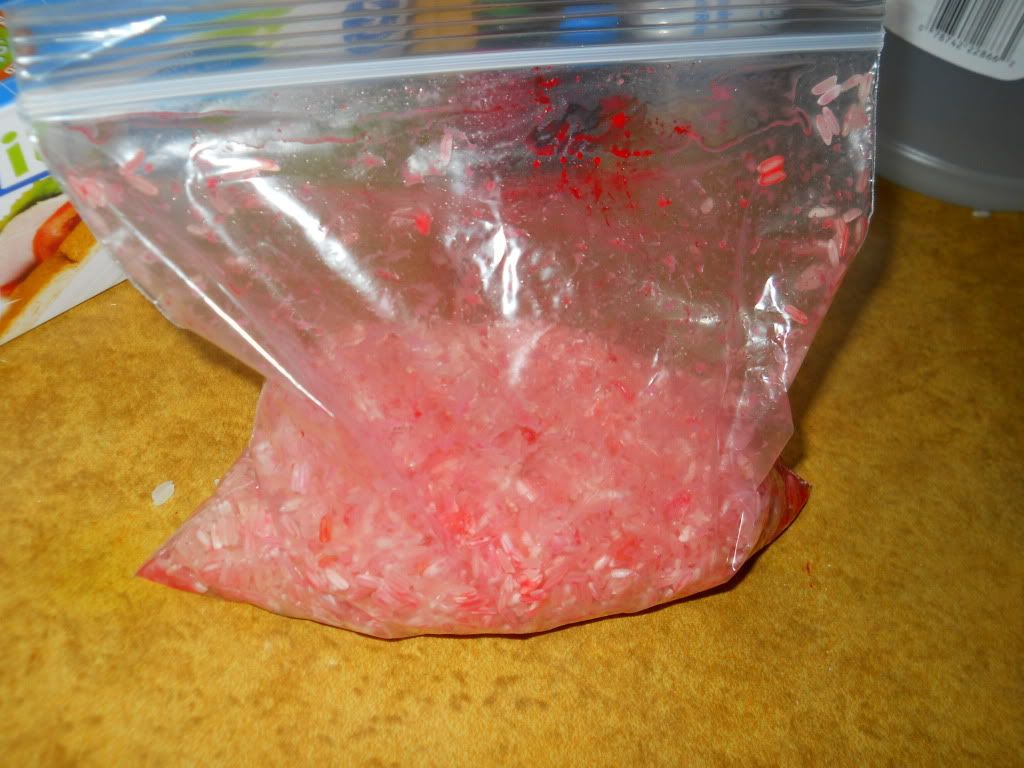
I had some cheapo plastic bags to mix it in. I know many places suggest using an empty butter tub or something, but the bag worked fine for me. I also liked squishing it around in there. =)


I used about 1 -2 tbsp of vinegar (sort of just splashed some in the bag, I didn't feel like measuring exactly), 1 cup of rice, and a few drops of food coloring. This coloring is supposed to be pink, not red... just so you don't think it was too diluted. This was exactly the color it was supposed to be! Yay. 

Smoosh it around. It feels cool. 

If I was a nicer mommy I may have let Kayla help. But I didn't feel like dealing with spilled rice, or ripped bags of food coloring, or anything else. Perhaps another day now that I know it works. 

Then I laid it out in as flat a layer I could on a tin-foil covered cookie sheet. 
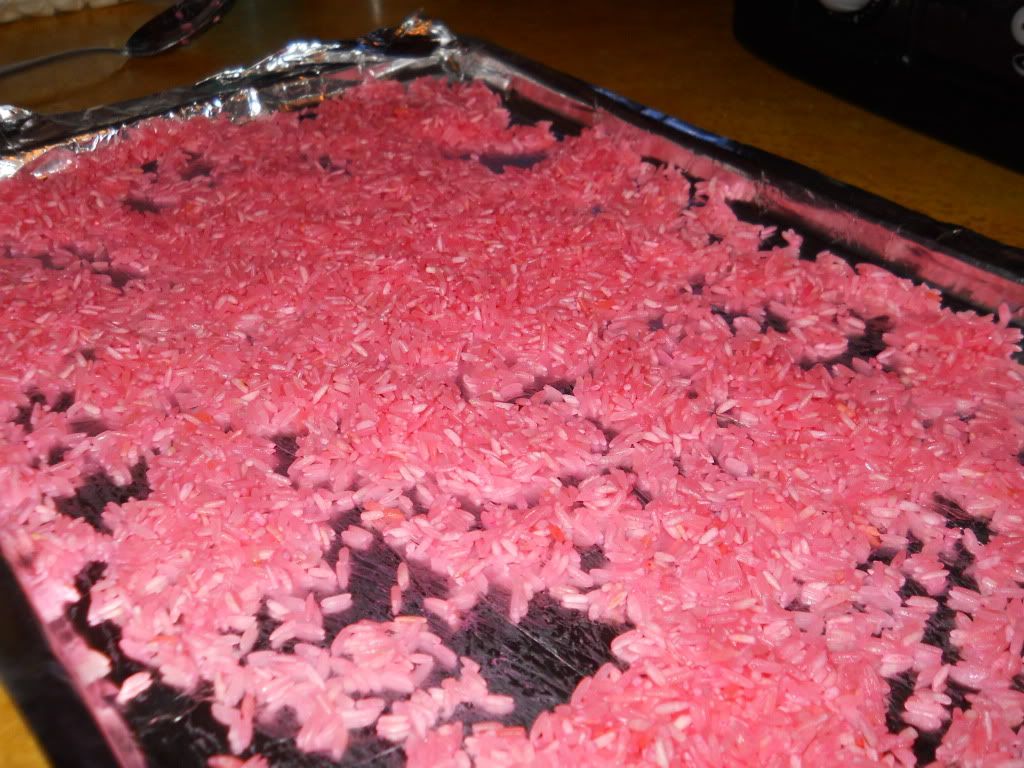


Pop in the over for about 10 minutes or until the rice is dried. The first batch was entirely dry by the time 10 minutes was up. The second batch I made I think I used a tiny bit more vinegar (downside of not measuring, I know) so it needed an extra 5 minutes. 

Pour into a container- I used an empty coffee creamer container. I think when I have more colors made this is going to look really pretty all together. 
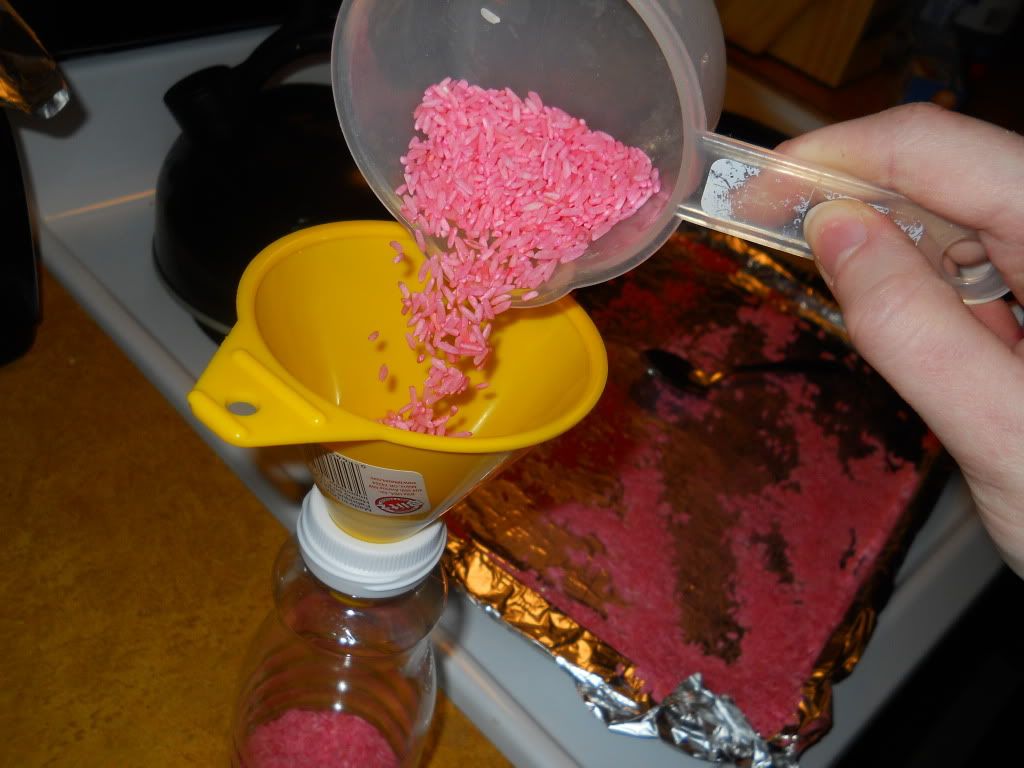

Tada!
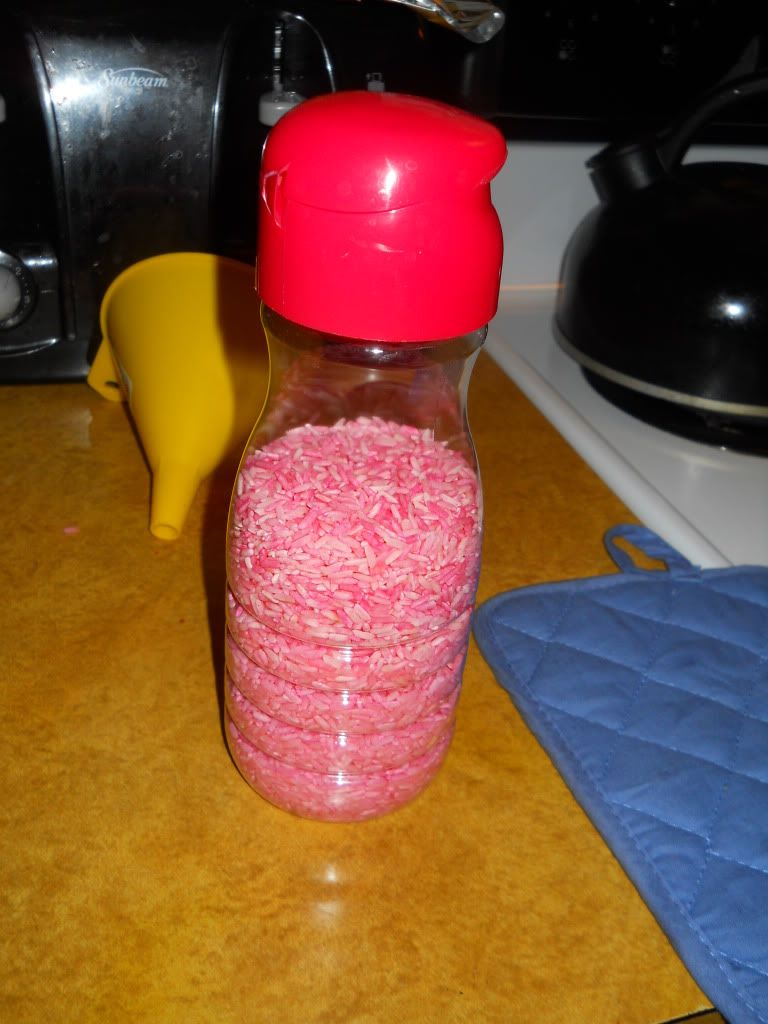

As a note- the color seemed to come out fine to me with the vinegar, and while I did note a small amount of the clumping I read about, the rice fell apart easily once dried so I didn't think it was an issue at all. I'll try rubbing alcohol next to see what the difference winds up being. I've heard the colors are more vibrant. 


It's a less annoying alternative to glitter in pictures and when made in large enough patches can be used in lieu of sand. Put into a small plastic bottle with other small objects, it can be a find "find the objects" sort of game, or used in sensory boxes as a neat feeling filler. Personally, I am thinking some 'sand art' is in order.
 I'm mostly just waiting on some more empty creamer containers to make some more colors. Need to drink more coffee, it seems. Twist my arm a little harder, why don't ya!


Friday, January 27, 2012

Homemade Tub Paint Success!!

Before I do my Letter of the Week update, I wanted to just post about this little GEM of an idea that wound up actually working out! Don't you love it when these simple little ideas go so fantastically?

Well, like most good ideas of late, I got this idea from Pinterest, or as I like to call it, The World's Best Website Ever. Kayla and the tub toy situation has been an issue for a while now. Her toys seem to get grossed up so fast that I wound up throwing most of them away. She has a few dolls left, and then some easy-to-bleach cups and stuff... but it's all pretty boring. She actually doesn't even play with most of it any more. So I've been having some issues with finding something she will actually enjoy in the tub.

I've bought more crayons and tub-art things that I can't even give you a general idea of what I've spent. Art is one of her favorite things, so these crayons would be perfect if they all weren't so horrible. Most of the time they don't leave visible marks on our (unsightly) yellow tub (seriously, who thought that mustard yellow was a good color for a tub?) and when they do actually color they wind up turning into a mushy, not-crayon-y mess after only one or two baths.

So, without further ado, the awesome solution that kept Kayla entertained: homemade tub paints.


The best part- SUPER cheap to make. 

I invested a little more than I will in the future because I bought the brushes and the little plastic cups specifically for this. If you have cups and brushes laying around, then you don't even need to worry about that much. 

What you need:
1.) Shaving Cream- I got sensitive skin kind just because it will be in the water with her.
2.) Food coloring- A.C. Moore sells some in the baking section and always has a coupon. A pack of 4 concentrated gel food colors cost me $1.50
3.) Container for the paints- small cups or muffin tins.  I spent $1 on the pack of 3 from the Dollar Tree
4.) Brushes- Another Dollar Tree pack of 3 for a buck!

That's it. 

Put the shaving cream in the cups:

Add a few drops of food coloring:


Have a happy kiddo:


She loved it!!And now she keeps asking to take a bath! 

Finally- a bath time activity that makes the both of us happy!!